Ganaka DMS User Guide
This guide explains how to install, access, and use the Ganaka Document Management System. It includes live portal screenshots and a practical walkthrough of the main modules used by administrators and end users.
Getting Started
Use these credentials to access the portal immediately after installation in the current XAMPP setup.
Login Details
- Portal URL:
http://localhost/dms/ - Username:
admin@example.com - Password:
password123
First Login Advice
After signing in, change the administrator password and update the portal branding, SMTP settings, and OpenAI settings from the Settings module.
User Roles and Permissions
The portal supports four main user roles. Their access levels are defined below based on the current system permission rules.
Admin
- Full administrative access to the entire portal.
- Manage users and role-based access.
- Manage categories and portal settings.
- Upload, edit, assign, approve, and archive documents.
- View email logs and audit logs.
Manager
- Manage categories.
- Upload and edit documents.
- Assign documents to users.
- Approve and archive documents.
- View email logs and audit logs.
Editor
- Upload new documents.
- Edit document metadata and document versions where permitted.
- View assigned and permitted documents.
- Cannot manage users, categories, system settings, or audit/email logs.
Viewer
- Read-only access to documents allowed by role or direct permission.
- Can view document details, previews, metadata, and FAQ content.
- Cannot upload, edit, assign, approve, archive, or manage portal settings.
Contents
1. Installation on XAMPP
Use these beginner-friendly steps to run the portal locally on Windows through XAMPP.
Step 1: Install XAMPP
- Install XAMPP on Windows.
- Open XAMPP Control Panel.
- Start Apache and MySQL.
Step 2: Copy Application Files
- Copy the full project folder to
C:\xampp\htdocs\dms. - Confirm the
public,src,database, andstoragefolders are present.
Step 3: Create the Database
- Open phpMyAdmin from XAMPP.
- Click New.
- Enter database name:
dms. - Choose
utf8mb4if asked for collation/character set. - Click Create.
Step 4: Import the Main Schema
- Select the
dmsdatabase in phpMyAdmin. - Click the Import tab.
- Select
database/schema.sql. - Click Go and wait for the import success message.
Step 5: Confirm Database Import
All required tables are already included in the main schema file for the current package.
database/schema.sql. No separate migration import is required.Step 6: Configure the Application
- Open the project
.envfile. - Confirm these values match your local XAMPP setup:
- Save the file after editing.
Step 7: Check Folder Permissions
- Make sure
storage/documentsexists. - Ensure PHP can write uploaded files into that folder.
Step 8: Open the Portal
- Open
http://localhost/dms/in your browser. - The root folder redirects automatically to
/public/index. - Login using the default administrator account.
Step 9: Configure Portal Settings After Login
- Go to Settings > Settings.
- Update portal name, logo, font size, and default language.
- Configure SMTP if you want real email delivery.
- Add your OpenAI API key if you want AI chat features.
pdo_mysql, mbstring, curl, fileinfo, openssl, xml, and zlib.2. Installation on cPanel / Others
Use this method when publishing the portal on shared hosting or a cPanel-based server.
Step 1: Create Database and User
- Open cPanel.
- Go to MySQL Databases.
- Create a database.
- Create a database user.
- Assign the user to the database with All Privileges.
Step 2: Upload Files
- Upload the project files using File Manager or FTP.
- Place the project in the directory where you want the application to run.
Step 3: Import Database Files
- Open phpMyAdmin from cPanel.
- Select your newly created database.
- Import
database/schema.sql.
Step 4: Edit the Environment File
- Open
.envin File Manager or your editor. - Set your live values for database and application URL.
Step 5: Set the Public Path
- If your host allows it, point the domain or subfolder document root to the
publicdirectory. - If not, keep the system in a subfolder and access it through the
publicfolder path.
Step 6: Final Configuration
- Login with the administrator account.
- Configure portal branding, SMTP, language, and OpenAI key from the Settings page.
- Test document upload and AI chat before going live.
OpenAI API Key Setup
Use this section when you want AI chat to work in the portal.
How to Create an OpenAI API Key
- Sign in to the OpenAI Developer Platform.
- Open the API keys page in your project/dashboard.
- Create a new secret key.
- Save the key immediately in a secure place. The full secret key is shown only when it is created.
- Optionally choose permissions such as All, Restricted, or Read Only when available.
How to Add the Key in Ganaka DMS
- Login to the portal as administrator.
- Go to Settings > Settings.
- Find the OpenAI section.
- Paste the API key into OpenAI API Key.
- Leave the model as default or enter the model you want to use.
- Click Save Settings.
Important Security Notes
- Never publish or share your secret API key.
- Do not place the key in client-side JavaScript or public HTML.
- If a key is lost or exposed, create a new one and update the portal settings.
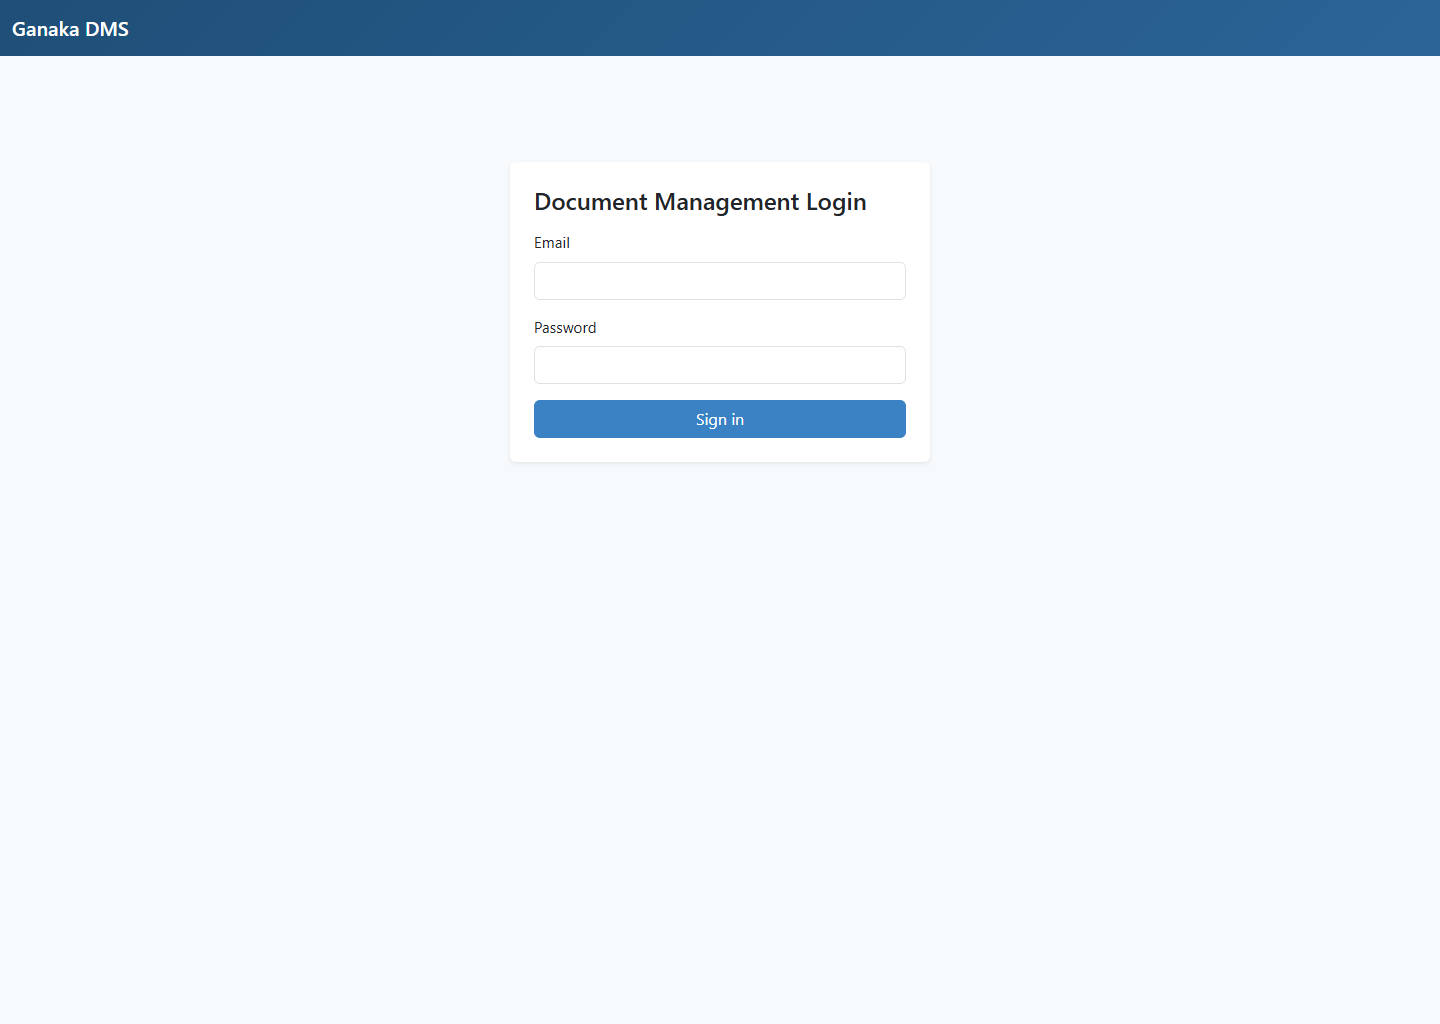
3. Login Page
The login screen is the secure entry point for all users. Authentication checks user status and role before allowing access to the portal.
- Accepts registered email and password.
- Redirects authenticated users to the dashboard.
- Invalid logins stay on the page with an error message.
- Includes a Forgot password? option for password reset by email link.
- Can show a Create Account button when anonymous registration is enabled.
- New users activate their own account from email and receive default viewer access.
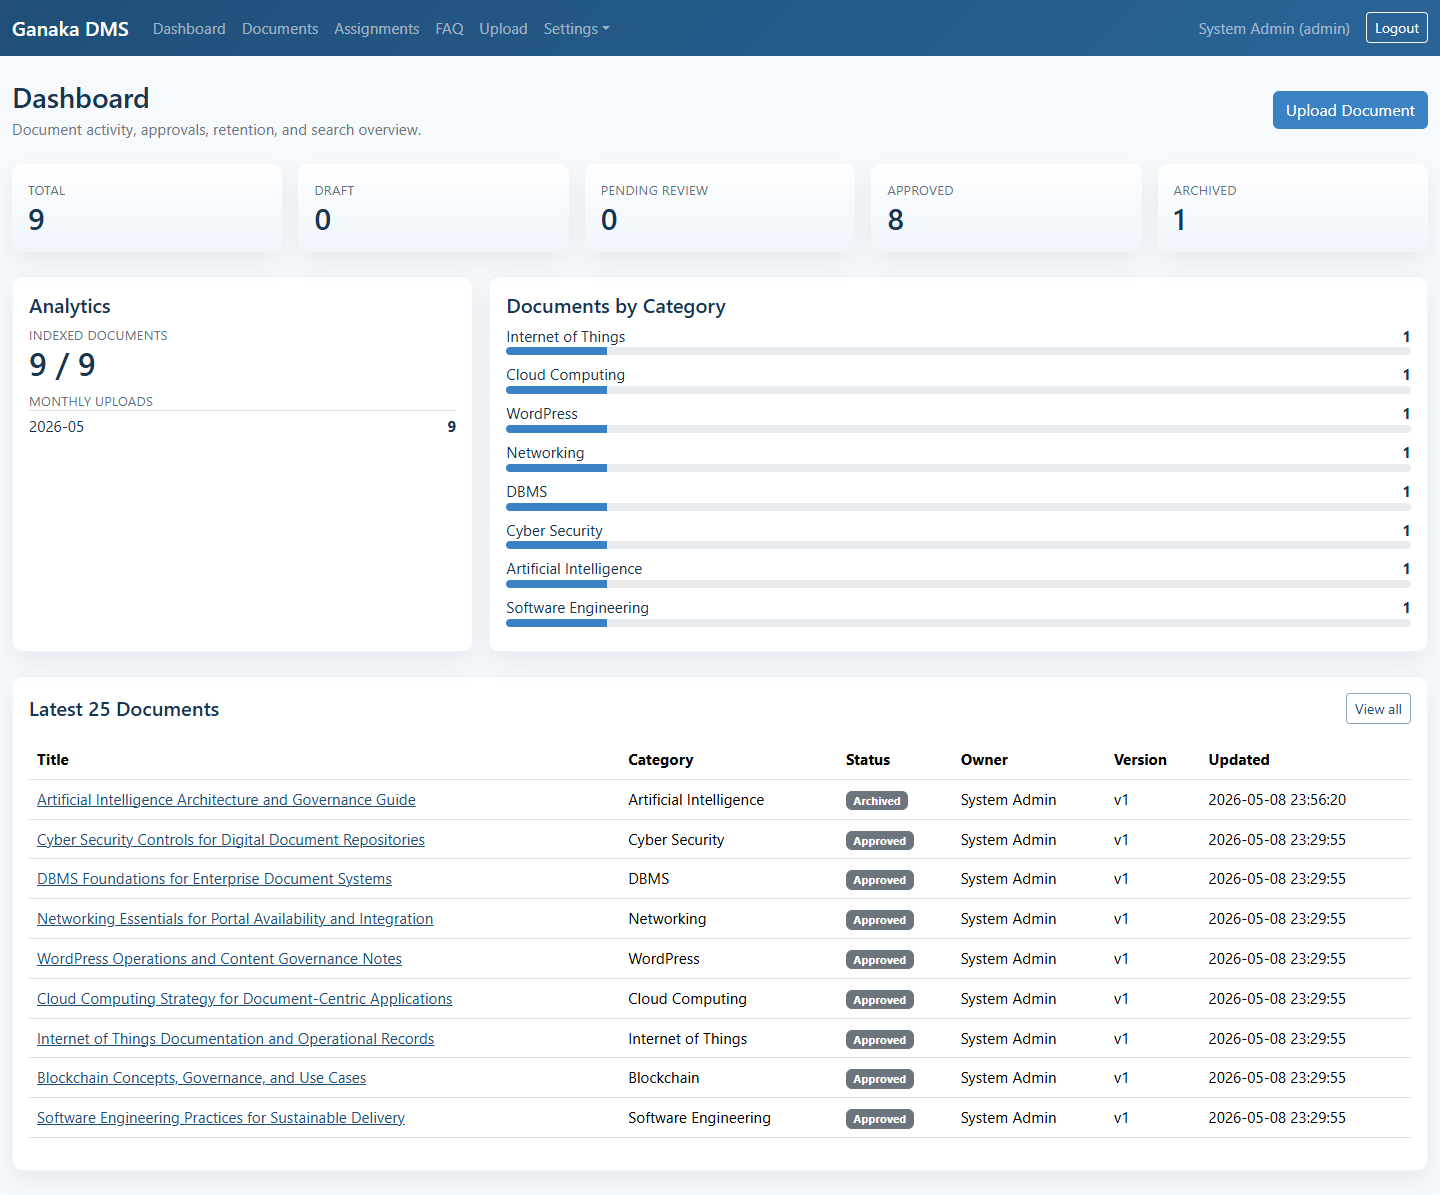
4. Dashboard
The dashboard gives an operational summary of the document library and indexing activity. It is the fastest place to review volume, workflow, and recent updates.
- Status cards for total, draft, pending review, approved, and archived documents.
- Analytics block for indexed documents and monthly uploads.
- Category distribution with visual progress bars.
- Latest 25 documents table with direct access to the document detail page.
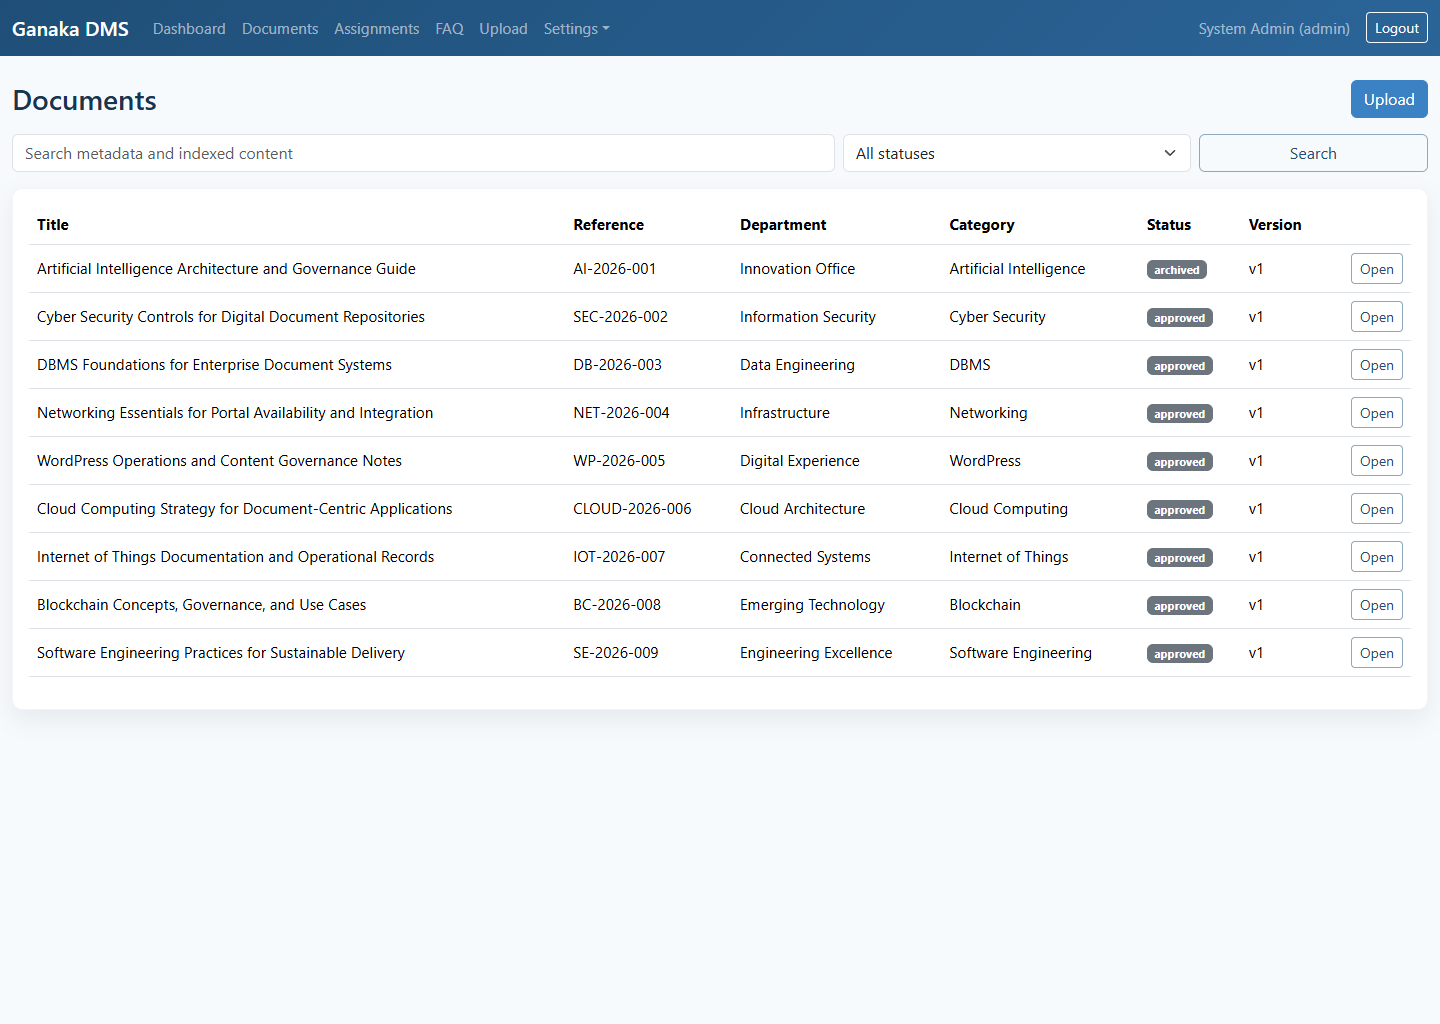
5. Documents
The documents module is the main listing screen for the repository. It supports metadata search, workflow filtering, and direct access to individual document records.
- Searches title, reference number, department, description, and indexed content.
- Filters by workflow status.
- Shows title, reference, department, category, status, and latest version.
- Uses pagination with the latest 25 records per page.
- Document detail page includes secure email sharing with validity date.
- Shared links use encrypted public URLs through
docviewer?id=encrypted_data. - Shared PDF files open in a secure browser viewer and other files use protected download.
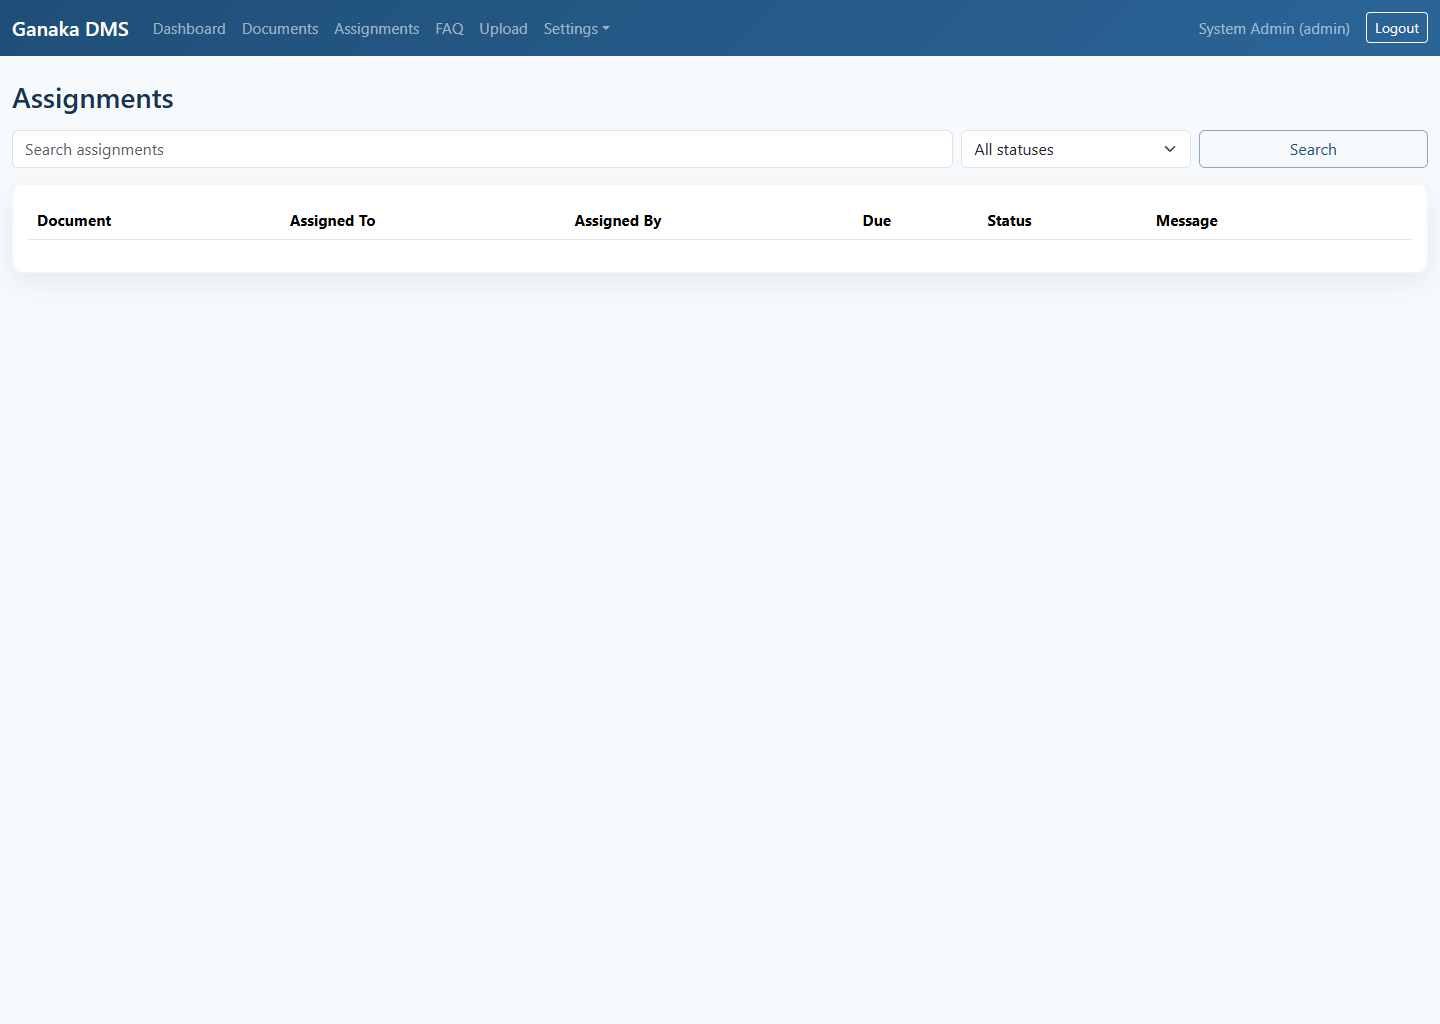
6. Assignments
The assignments page tracks document handoffs and review work between users. Managers can use it to follow due dates and current assignment status.
- Searches by document title, assignee, assigner, and assignment note.
- Filters by assignment status.
- Displays due date, assignee, assigner, message, and current state.
- Links each row directly to the related document.
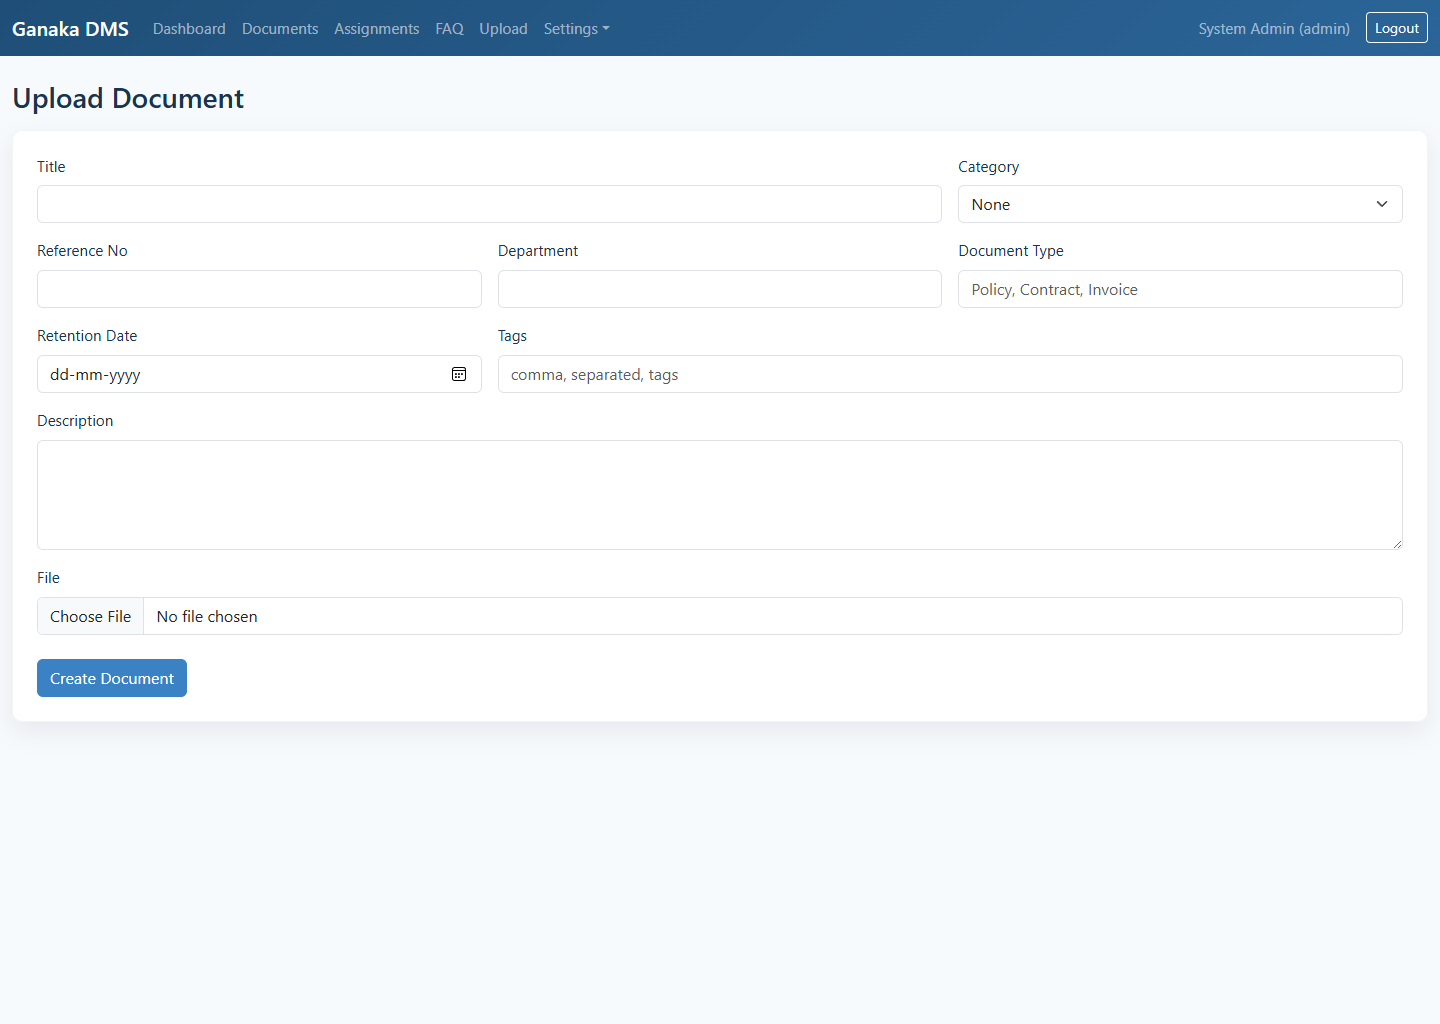
7. Upload
The upload module creates a new document record and stores the first file version. PDF documents are indexed automatically with metadata and extracted text when available.
- Captures title, category, reference number, department, type, retention date, tags, and description.
- Accepts the document file during creation.
- Moves directly to the document detail page after successful upload.
- Supports category-driven organization and searchable metadata.
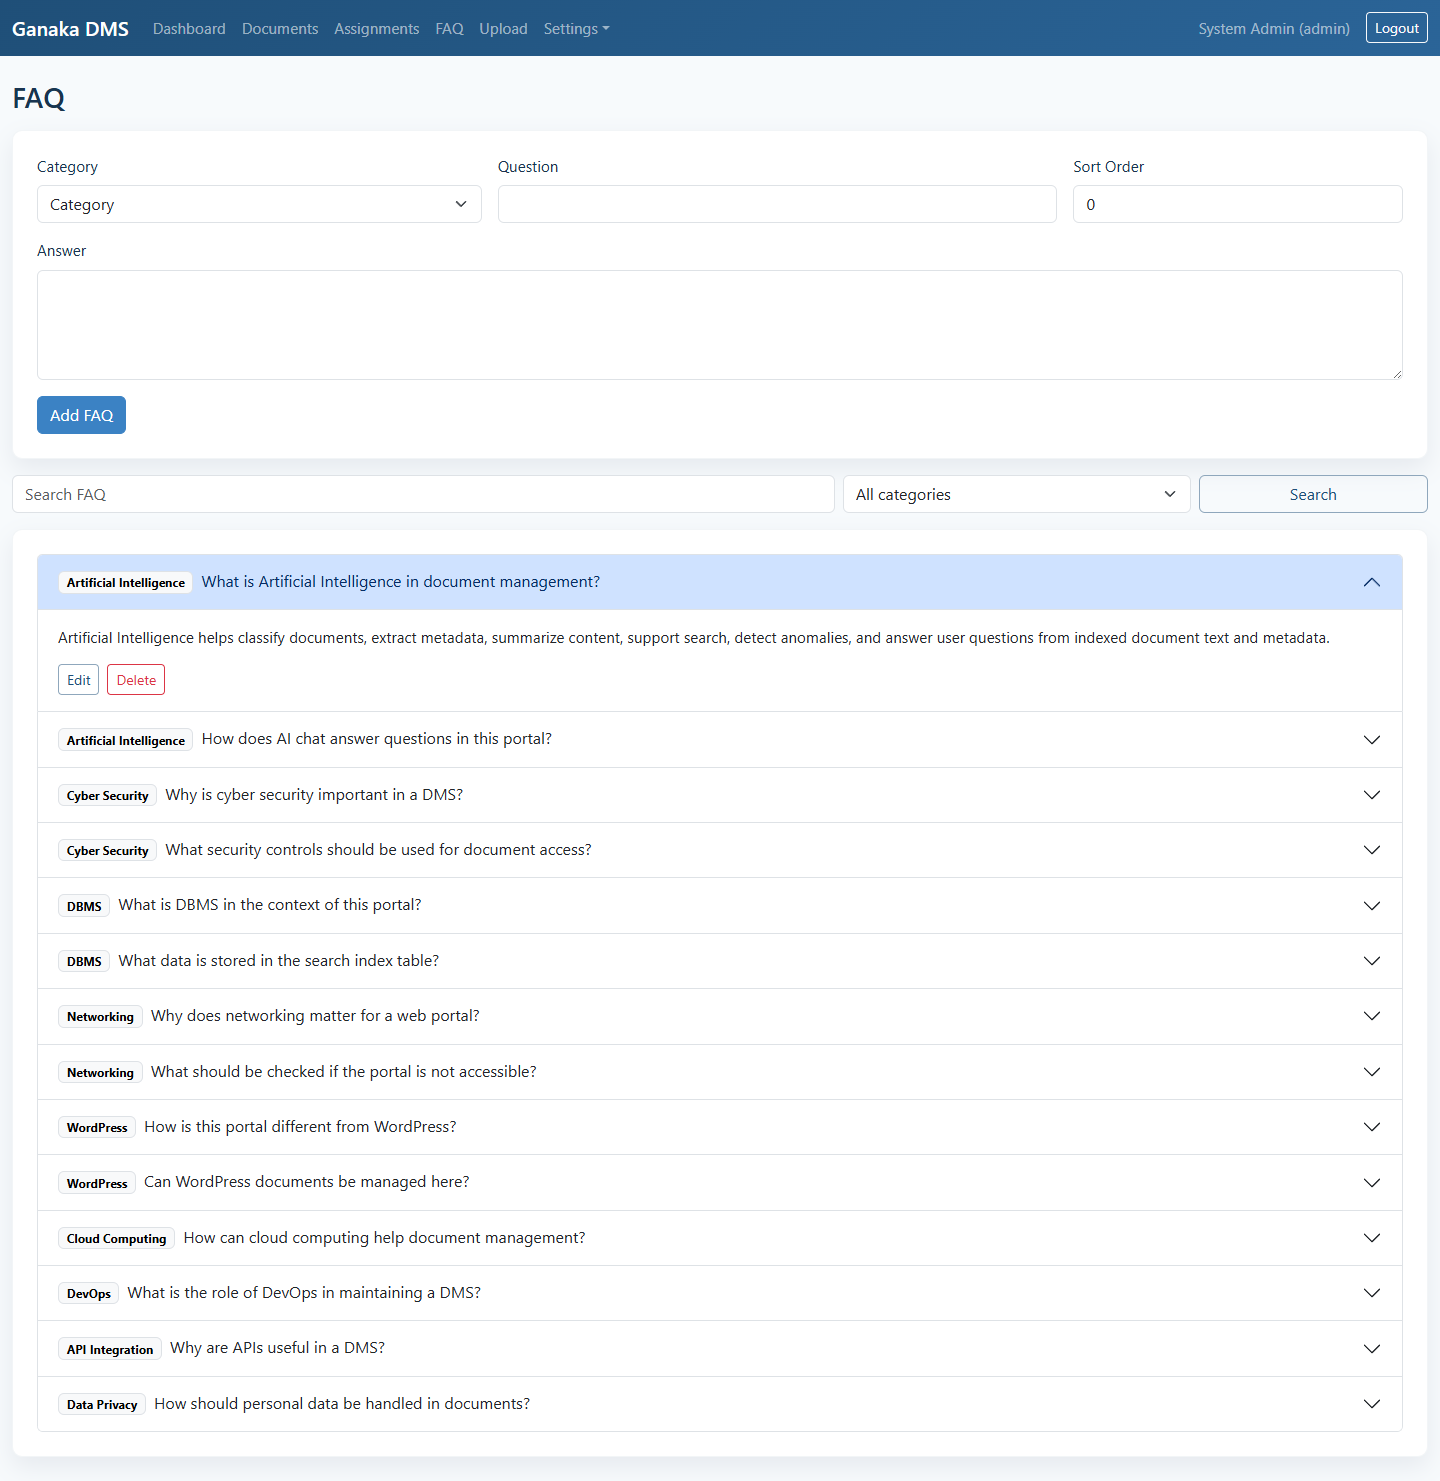
8. FAQ
The FAQ module provides a searchable knowledge section inside the portal. It is useful for policy notes, support questions, and quick technical references.
- Searches question, answer, and category.
- Filters FAQs by category.
- Supports add, edit, and delete actions for authorized users.
- Uses categories from the main category table for consistent structure.
9. Settings Menu
The top navigation groups administration screens under the Settings menu. These screens help maintain categories, users, branding, mail activity, and audit visibility.
Categories
Create and maintain document categories used in upload forms, document records, and FAQ classification.
- Add category name and description.
- Delete categories when they are no longer required.
- Paginated category list.
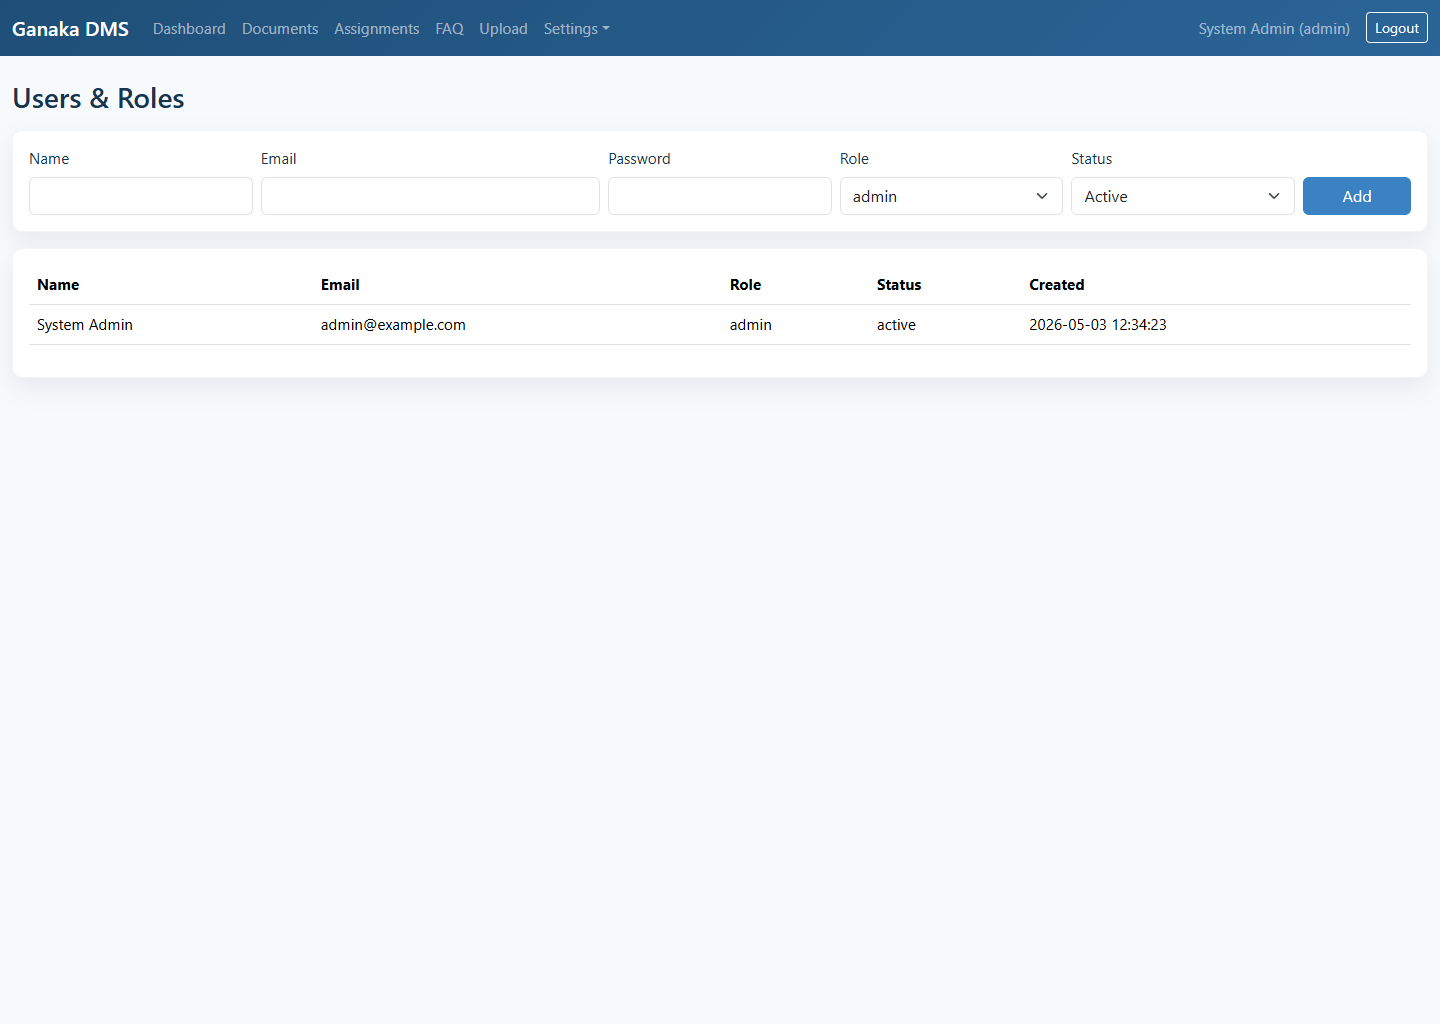
Users
Create users, assign roles, and define account status for portal access.
- Add users with password, role, and status.
- View current user list and role assignment.
- Paginated user management view.
- Anonymous self-registration can create viewer accounts after email activation.
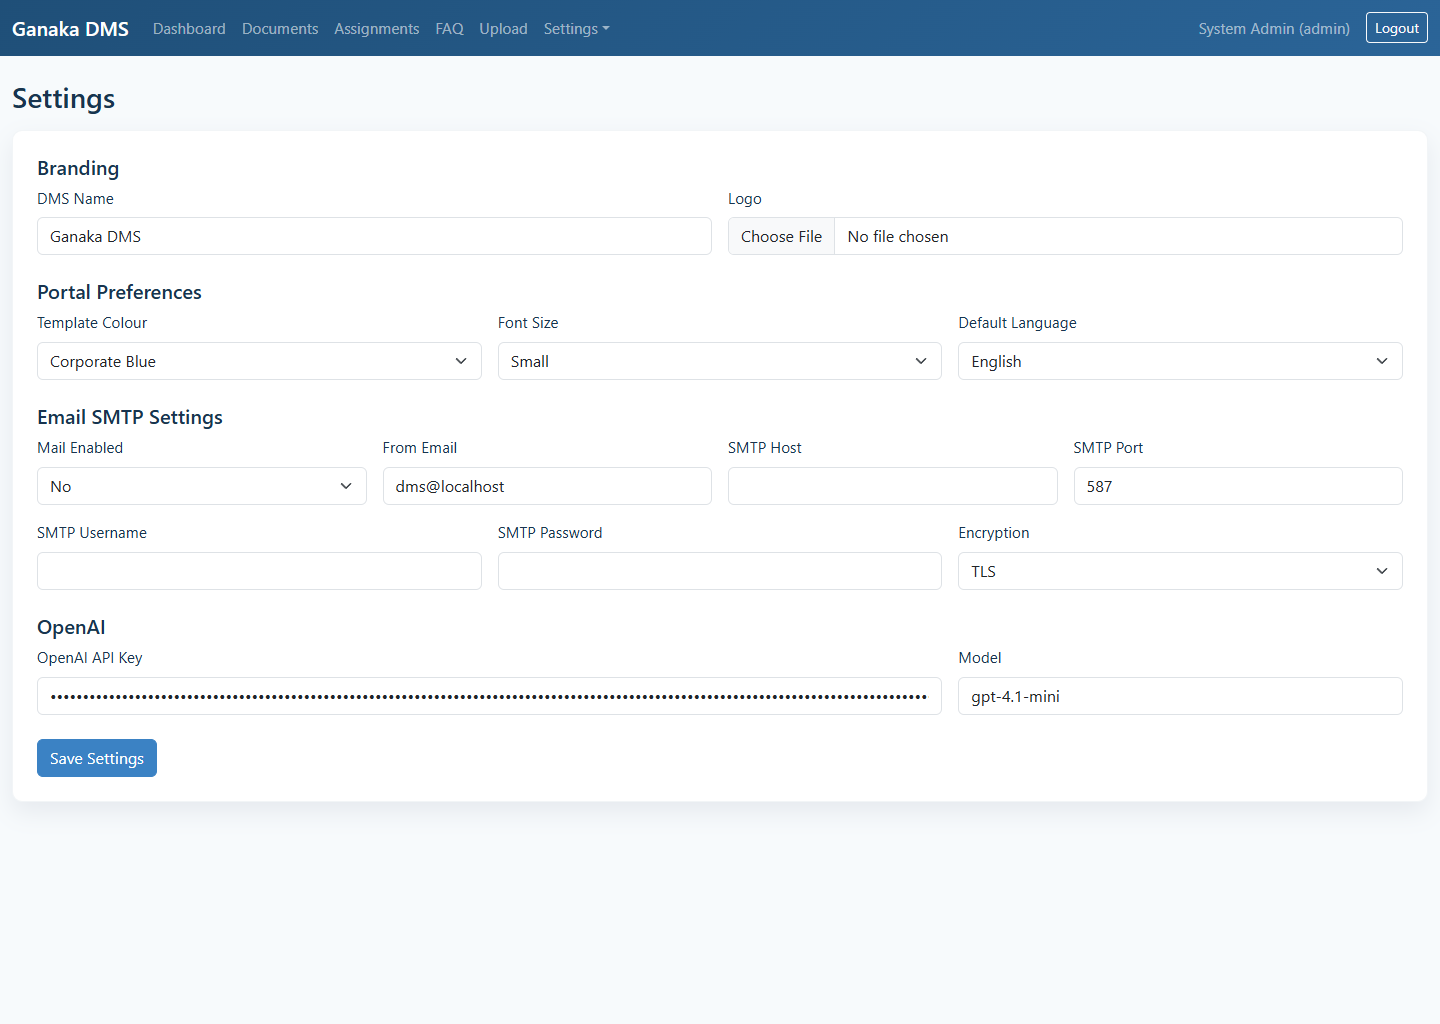
Settings
Control portal branding, theme colour, font size, default language, SMTP, and OpenAI settings.
- Portal name and logo upload.
- Theme, font size, and language selection.
- SMTP sender and server configuration.
- OpenAI API key and model storage.
- Create Account by Anonymous option to enable or disable public signup.
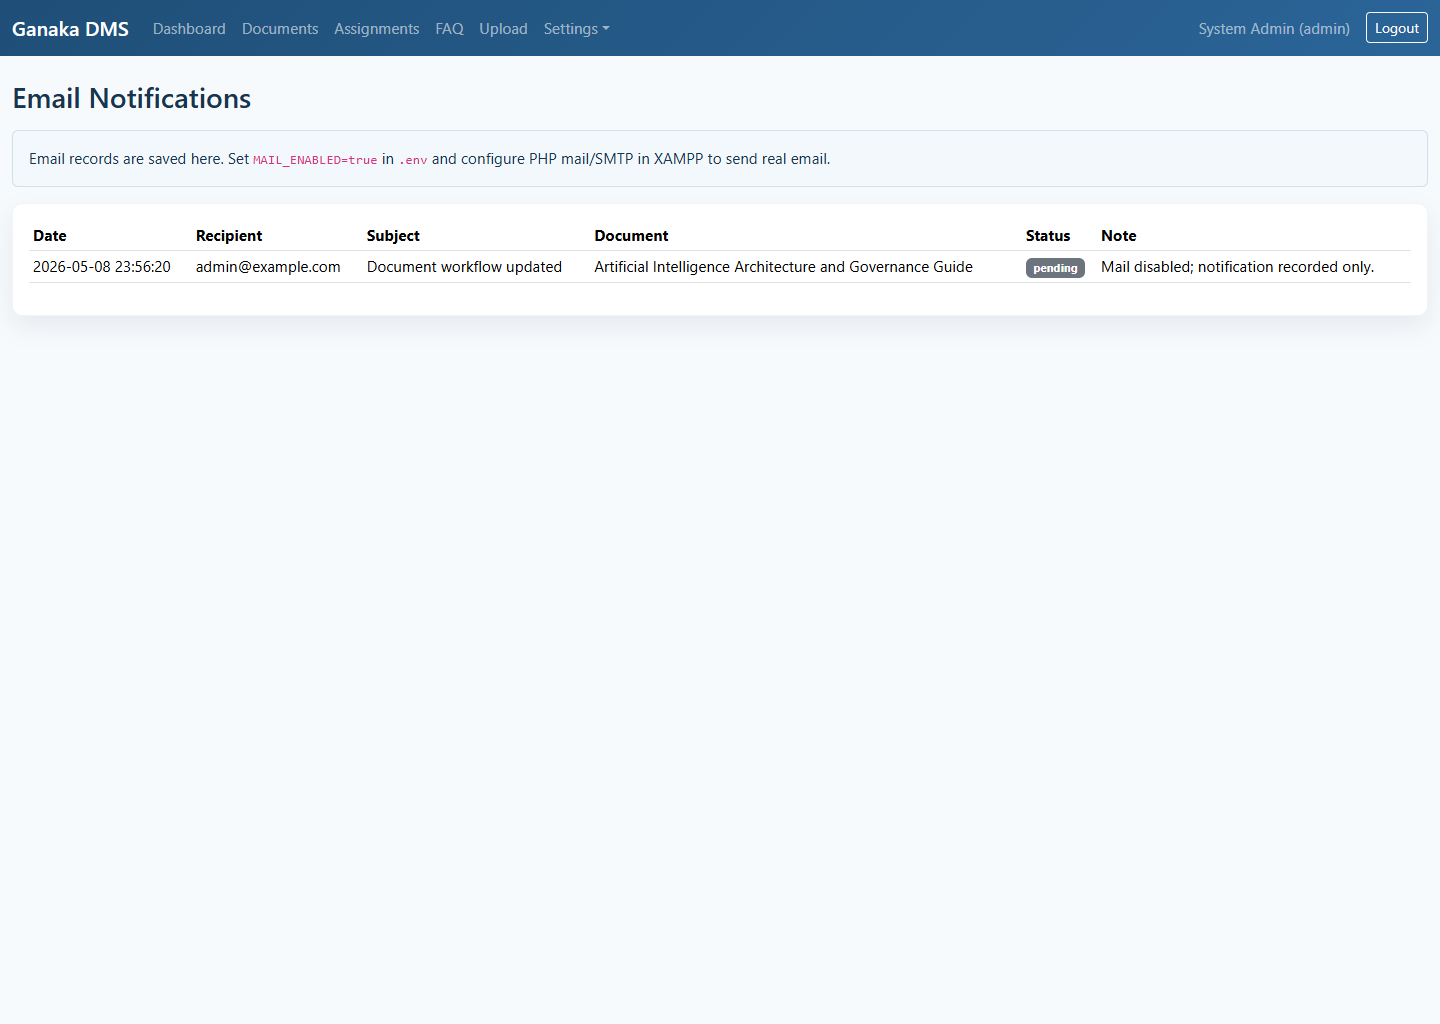
Emails
Review email notification history recorded by the system.
- Recipient, subject, related document, and status.
- Helpful for troubleshooting SMTP setup.
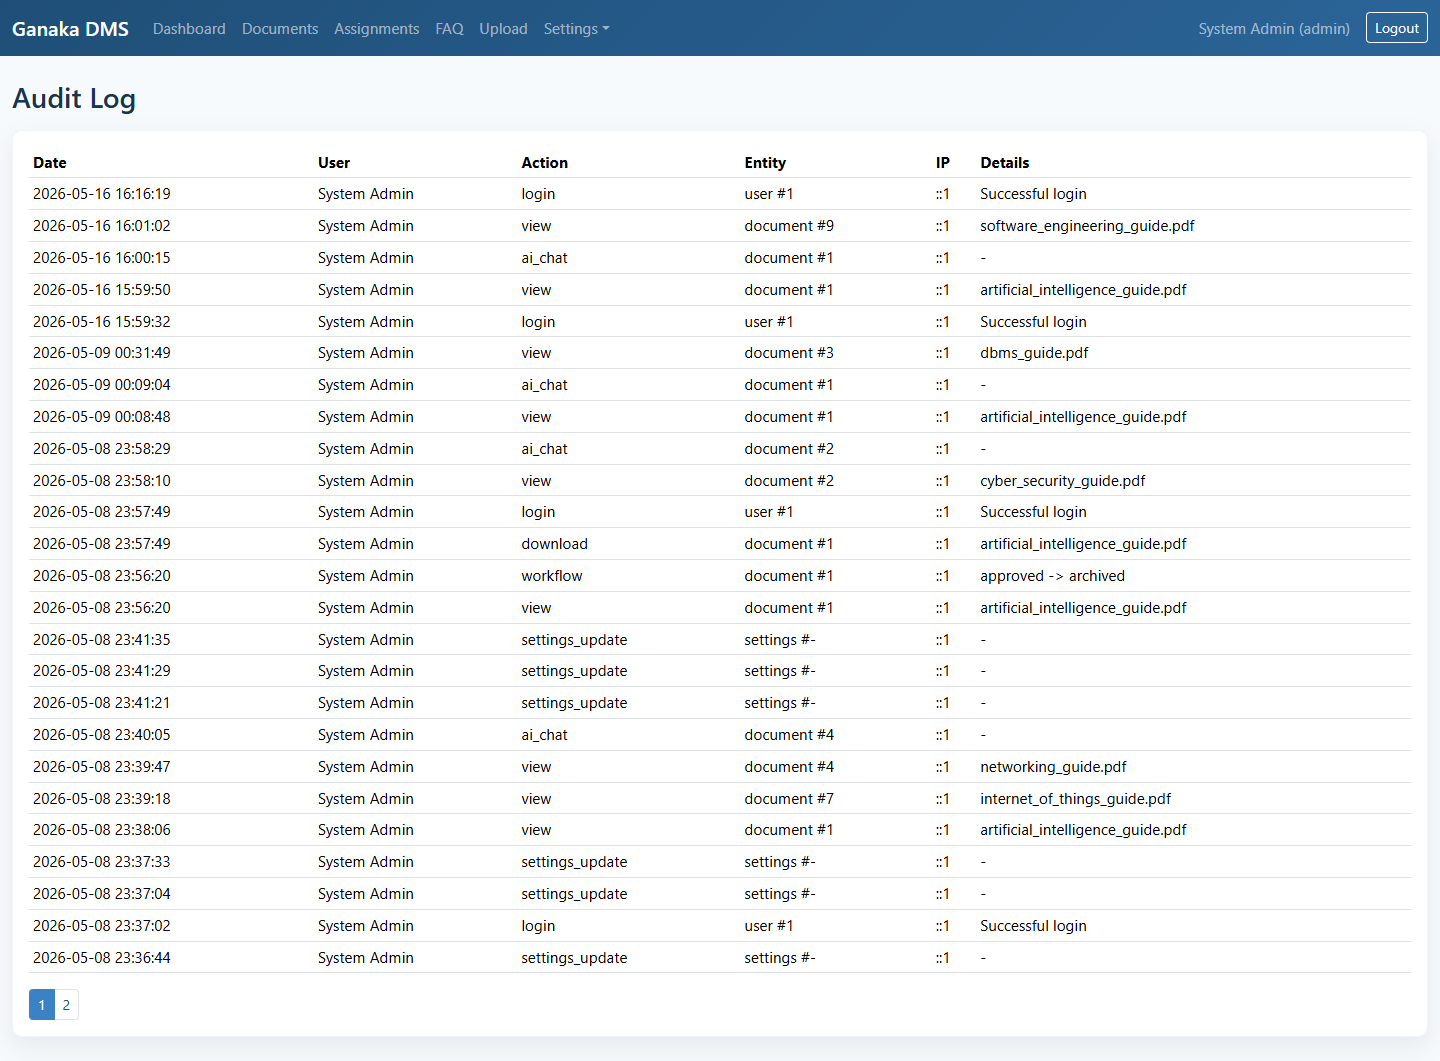
Audit
Track login events and key management actions across the portal.
- Date, user, action, entity, IP address, and details.
- Useful for accountability and compliance review.
Categories

Users
Settings
Emails
Audit
10. Document Sharing
The document detail page now supports secure external sharing by email.
- Enter one or more email IDs in the share box.
- Select the document validity date.
- Add an optional description for the email.
- The system sends a link like
docviewer?id=encrypted_data. - The shared link remains valid only until the selected expiry date.
- PDF files open inside the secure viewer, while ZIP, DOC, and other files use protected download.
11. Anonymous Account Creation
Ganaka DMS can optionally allow public account creation from the login page.
- Administrator opens Settings > Settings.
- Set Create Account by Anonymous to Yes.
- The login page will show the Create Account button.
- User submits name, mobile, email, and address.
- An activation link is sent to the submitted email address.
- User clicks the activation link, sets a password, and the account becomes active with default viewer permission.